



 切换语言
切换语言
切换语言
切换语言
An intraoral camera can turn a small area of the oral cavity into a visible image that is easier to review with a patient or colleague. The value comes not only from the camera itself but from how the team captures, reviews, explains and documents the images during everyday appointments.
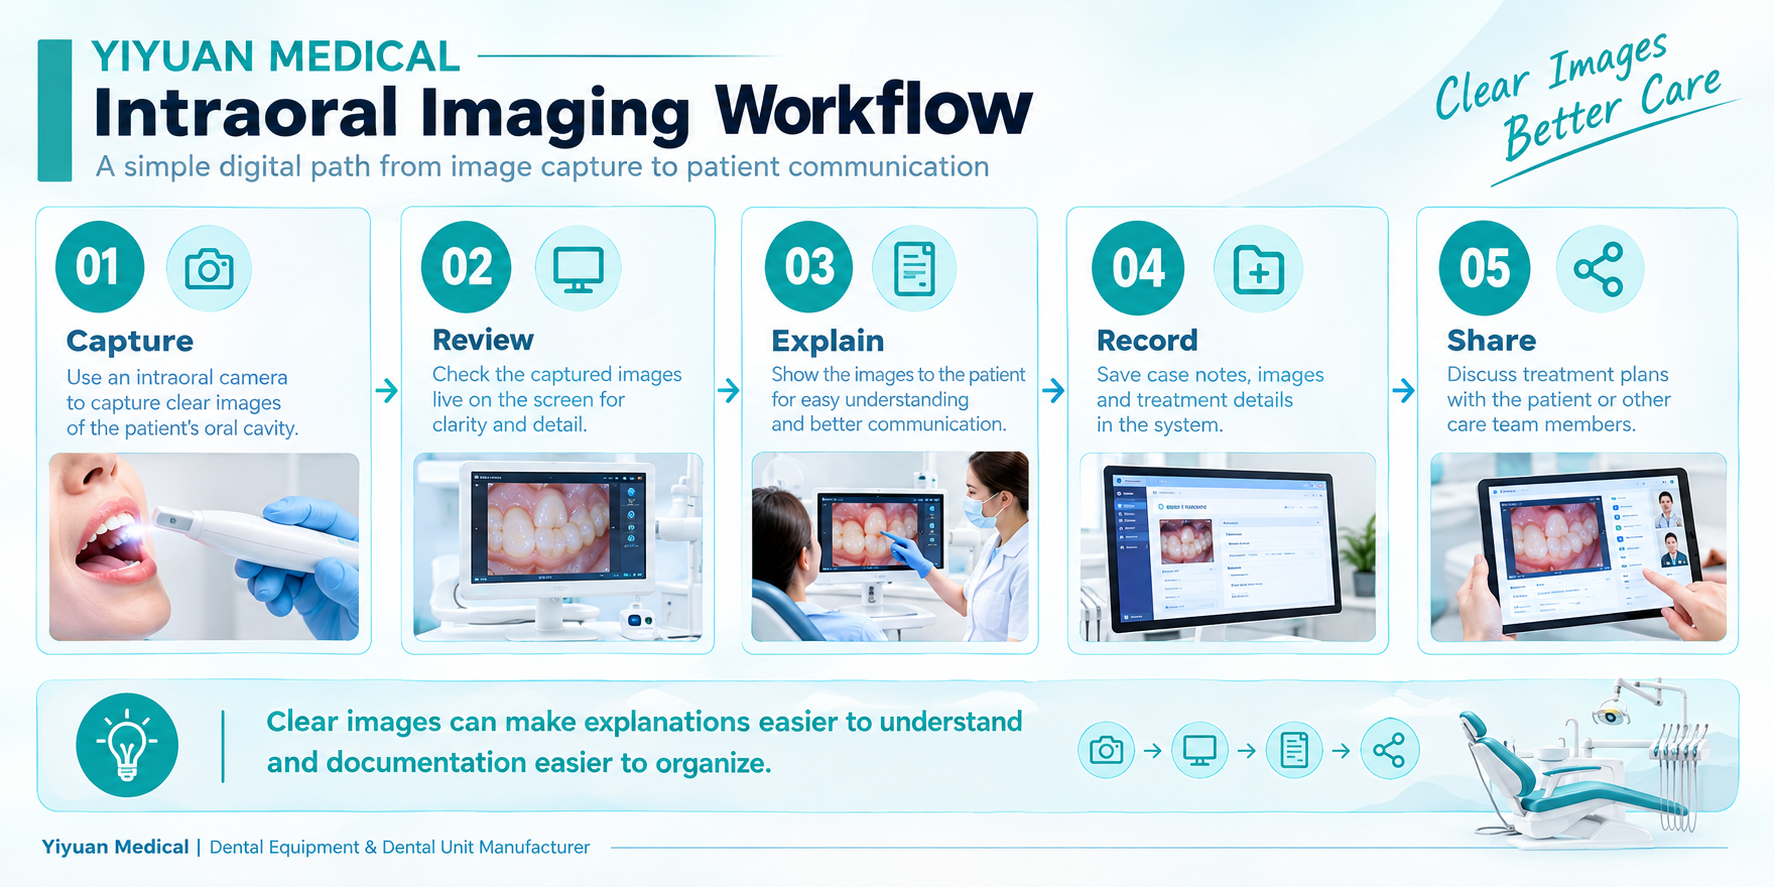
Figure 1. A chair-side intraoral imaging workflow.
Before capturing an image, define what the image is intended to show. Clear purpose helps the team decide which views are useful and reduces unnecessary image collection.
Follow the manufacturer instructions for handling, cleaning and infection-control procedures.
A chair-side screen or suitable display can make image review more immediate. The dentist can point out relevant areas and explain them using the patient's own image rather than relying entirely on verbal description.
Depending on the clinic system, selected images may be stored with case notes or used to support treatment discussions. A consistent naming and filing routine can make future review easier.
When comparing intraoral cameras, consider image capture, storage, software integration, handling, cleaning and how quickly the image appears on the screen. A technically capable camera is most useful when it fits the team's working method.
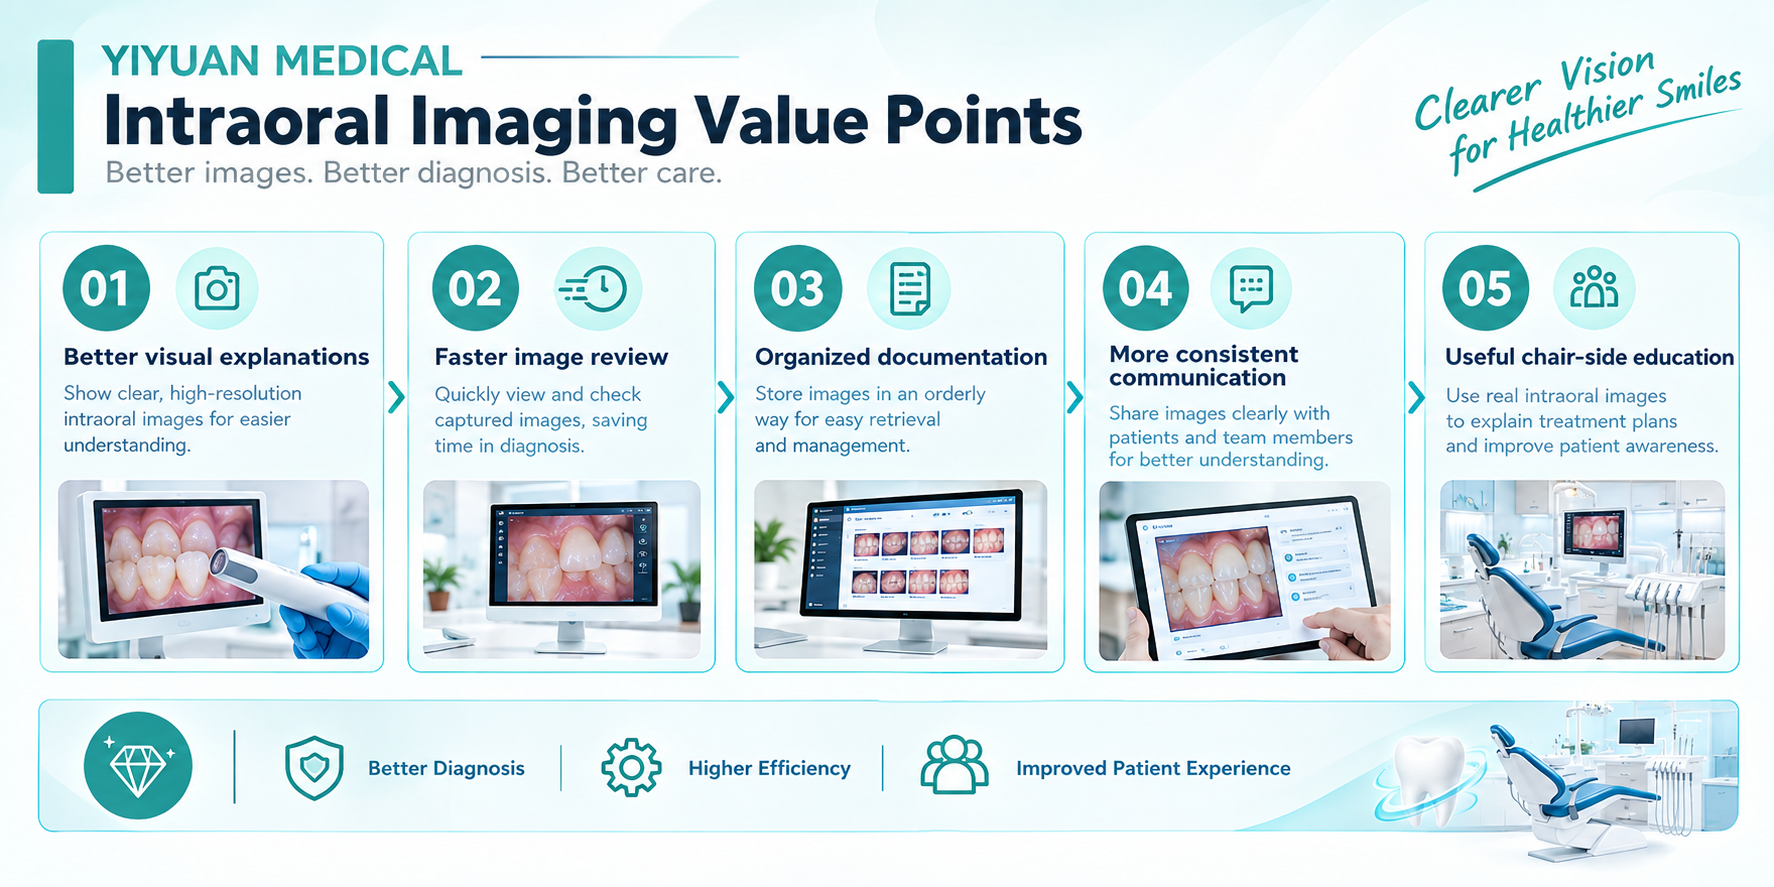
Figure 2. Practical value points of intraoral imaging.
· Define the purpose of each image.
· Follow the device handling and cleaning instructions.
· Review images with the patient when appropriate.
· Create a consistent documentation routine.
· Match the camera to the clinic's software and workflow.
It provides a visual record that can help clinicians review an area and explain findings more clearly to patients.
Not necessarily. Clinics should follow their documentation policies and save clinically useful images in the appropriate record system.
The best factor is workflow fit: image quality, handling, software, storage and chair-side usability should work together.